


Making dumplings from scratch was the only way my mom ever made them. I’ve helped her in the process for as long as I can remember. I would watch her roll out each wrapper and work on folding them. Her rolling always outpaces my wrapping skills. My mom’s dumplings will always be my favourite; steamed, fried or boiled, they always turn out plump and juicy. My wrappers come out a little thinner and still not quite even, I’m working on it.
This recipe is one filling variation but you can stuff the dumplings with pretty much anything. Some variations include:
- Ground beef
- Vermicelli, egg and dried shitake mushrooms
- Ground lamb
- Ground pork and parsley
- Ground pork and napa cabbage
- 1 lb of ground pork (a fattier cut makes for a juicier filling)
- 1/2 shrimp, peeled and deveined
- salt and white pepper to season
- 1 egg
- 3 gloves of garlic minced
- a chunk of ginger minced
- 1 cup of minced garlic chive
- 1 tbsp soy sauce
- 1 tsp sesame oil
- 1 tbsp cooking wine
- 1 tsp salt
- 2 cups of all purpose flour
- 3/4 cup of water
- French rolling pin
- Mince the shrimp, garlic, ginger and garlic chive. Add all of the minced ingredients along with the ground pork into a large mixing bowl. Also add in the sesame oil, egg, soy sauce, cooking wine and white pepper. Mix the filling well until all of the ingredients are evenly distributed.
- Into a mixing bowl, add the flour and water. Stir together with a fork until the dough starts to come together. Add more water or flour as needed. The dough should have a soft consistency but not wet. Once the dough is able to form into a ball, take it out of the bowl and knead for 5 minutes until smooth.
- Make a hole in the middle of the dough ball with your thumb and work the dough into a ring with an even thickness of about one and a half inches. The dough is ready to be cut.
- Cut the ring into half inch discs
- Tip: As the discs are being cut, make sure you flour them to keep them from sticking. You want to move to the next step quickly. Make sure the flour is only on one side of the discs. If both sides get floured, it's hard to close the dumplings when you're wrapping them.
- Using your fingers, try to make each disc as round as possible and flatten with the palm of your hand.
- Tip: If you have a helper, this step is great to be done at the same time as the discs are being cut.
- With a French rolling pin, roll out the discs. After each roll, rotate the wrapper 90 degrees. Repeat until the wrapper is 3-4 inches in diameter.
- Tip: Change the pressure as you roll, you want the outside of the wrapper to be thinner than the middle. The middle needs to support the filling and can't break. This is one of the main reasons I prefer hand rolled wrappers to store bought ones, the difference in thickness throughout.
- As the wrappers are rolled out, start wrapping. At the start, don't over fill your dumpling. If you can't close the dumpling, they will open up as they're being cooked. Each dumpling should be able to hold a full tbsp of filling.
- [Video to come of how to wrap a dumpling] In the meantime, I'll try my best to describe it. Hold the wrapper and filling in the palm of your hand, bring the side closest to you up to meet the side opposite and pinch. Now you have a semi circle with the flat side towards you. Fold in the corner at your fingers and pinch together. Start pleating the wrapper from the corner until you reach the middle. Repeat on the other side.
- Heat up a pan on medium-high and add 1 tbsp of oil. Once the oil just begins to smoke, lay out the dumplings in a tight ring, just touching each other. Add 1/2 of cup of water and immediately cover with a lid.
- Steam for ~5 minutes and uncover. Once all the water evaporates, the bottoms will begin to crisp up. Watch the dumplings carefully at this point because it's easy to go from crispy to burnt. Check on the bottoms and once they're nice and crisp (~2 minutes), serve immediately.
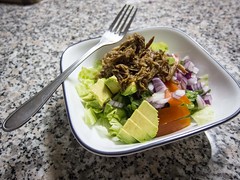
- Optional: I like to eat my dumplings with a dipping sauce of minced garlic, Chinese vinegar, hot sauce and soy sauce.
Step by Step Photos
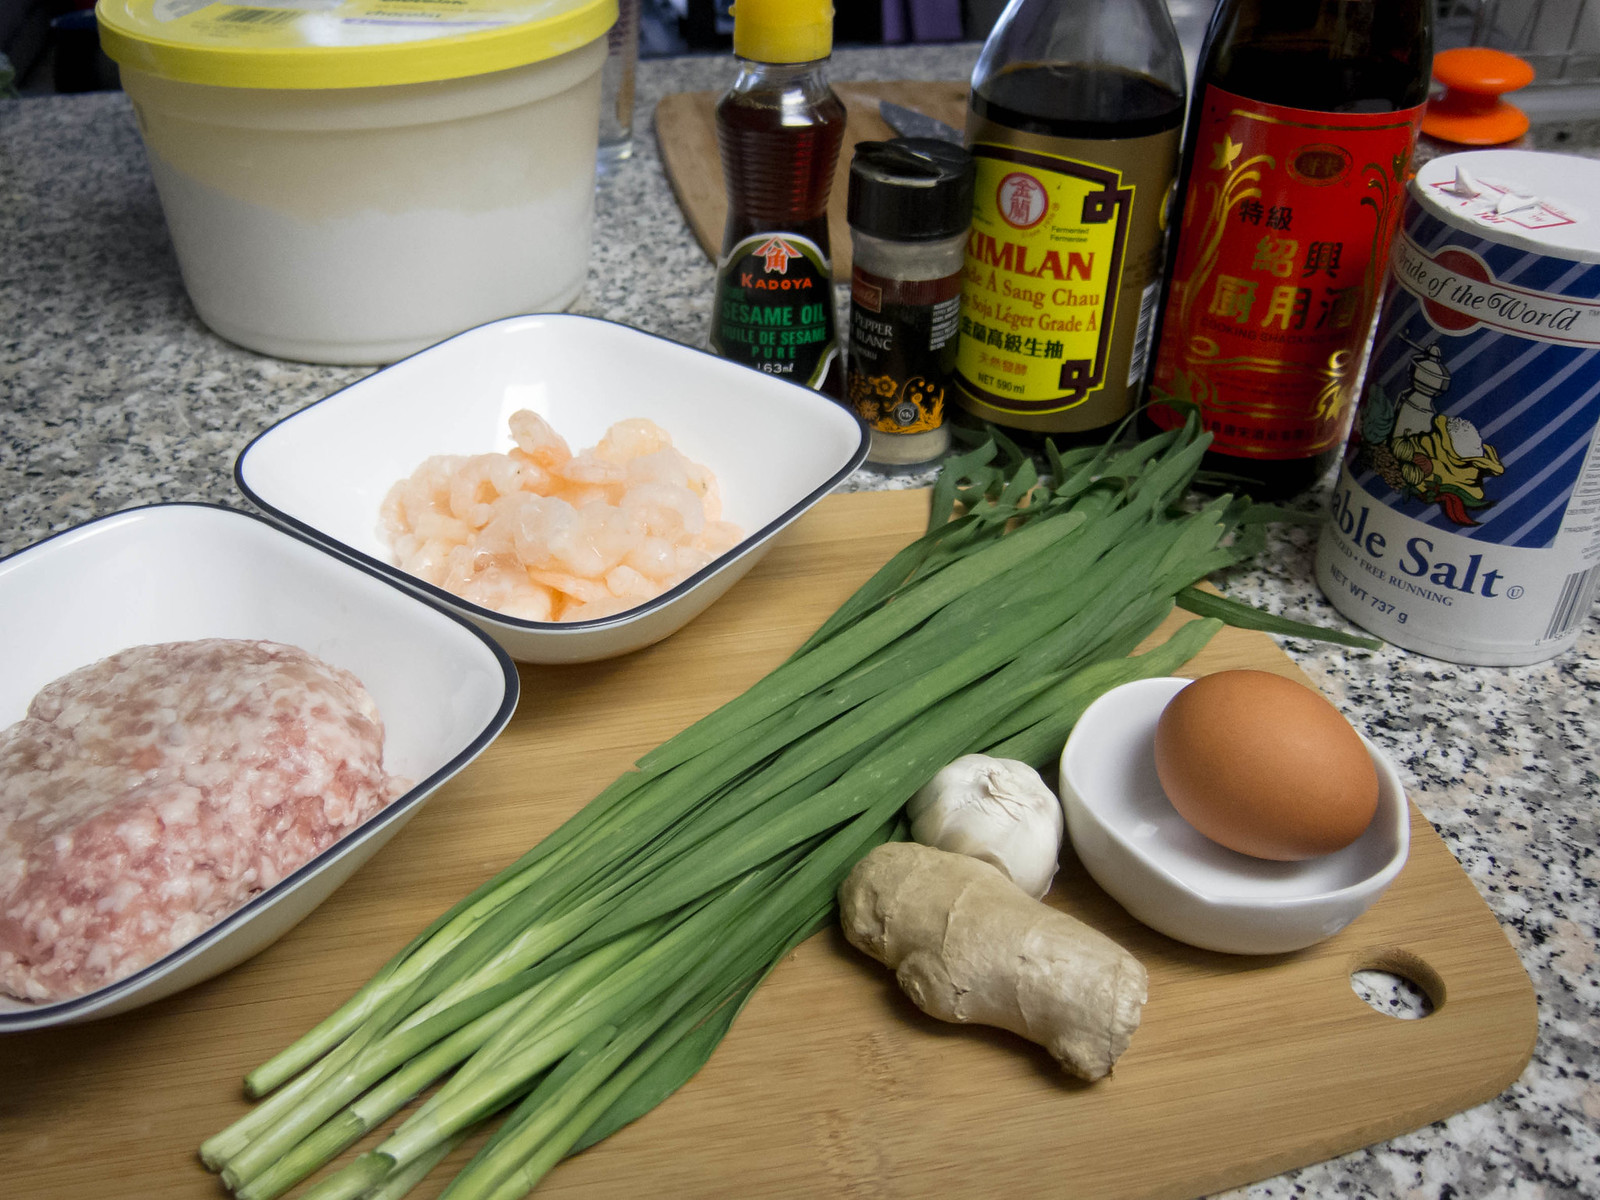
Assemble ingredients

Mince the shrimp, garlic and ginger
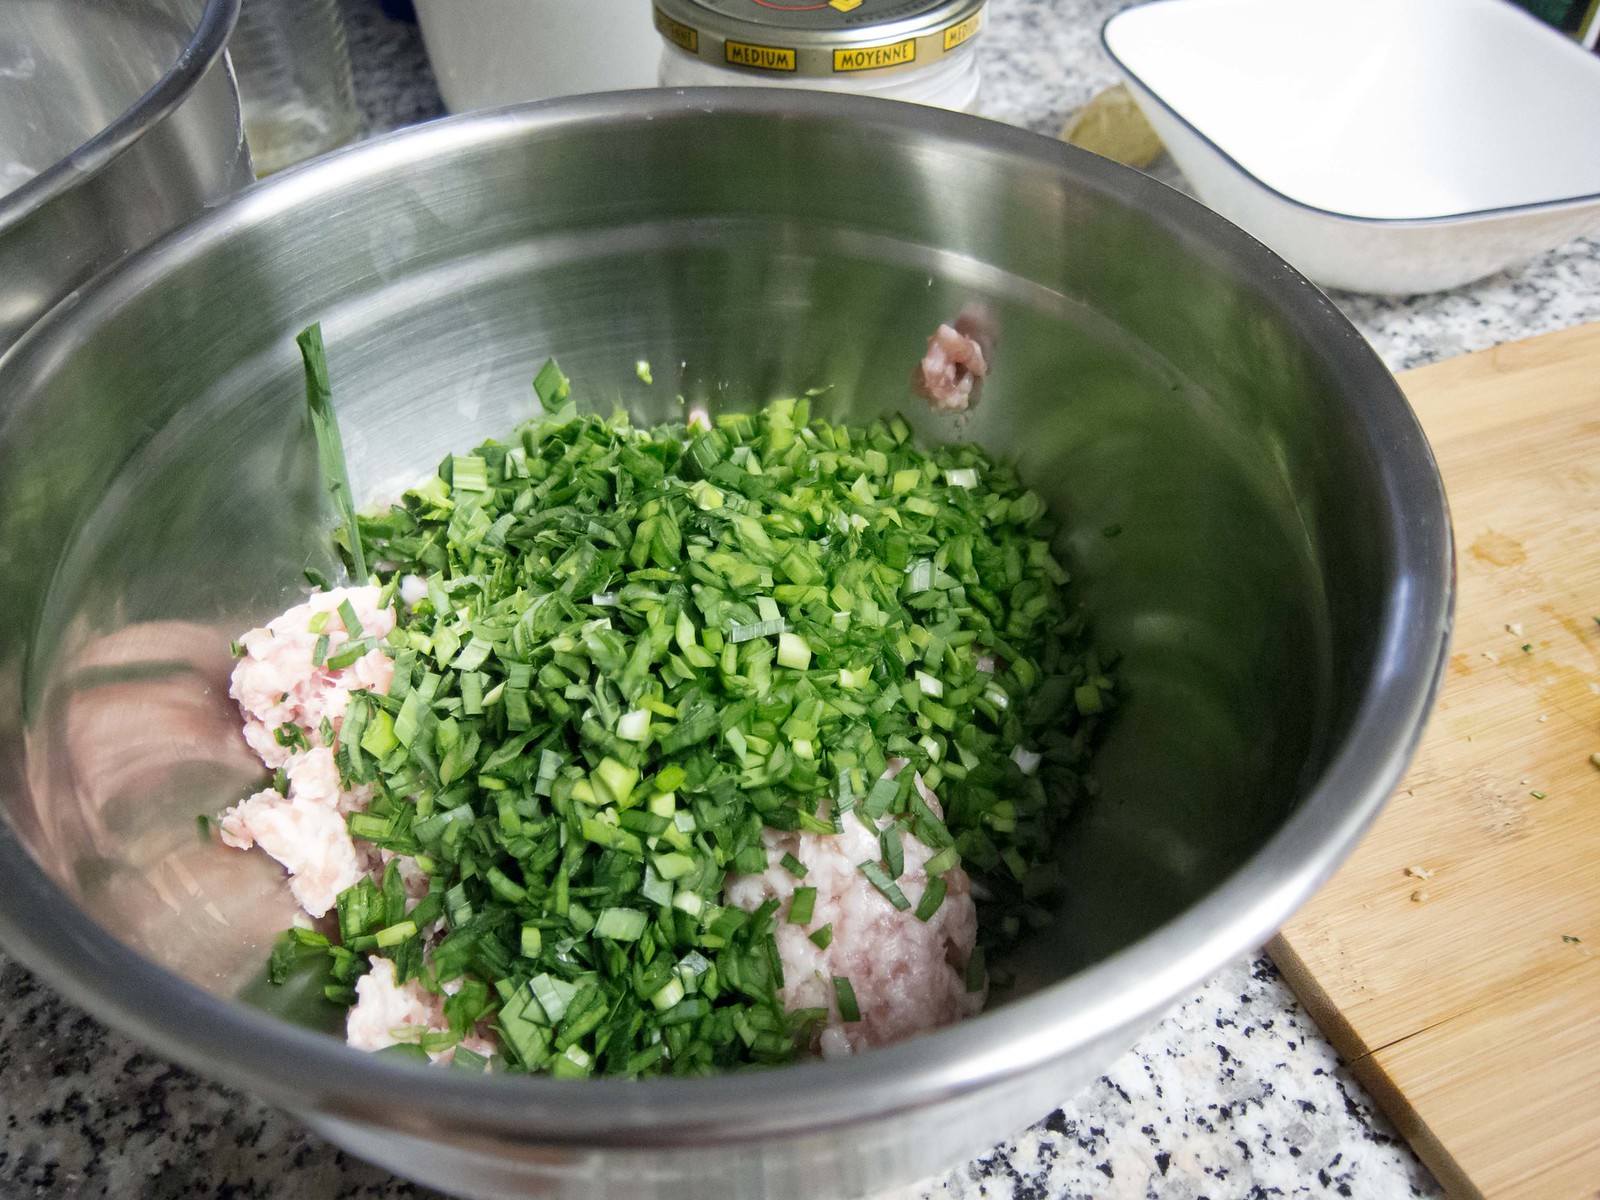
Add the chives

All the filling ingredients, to be mixed
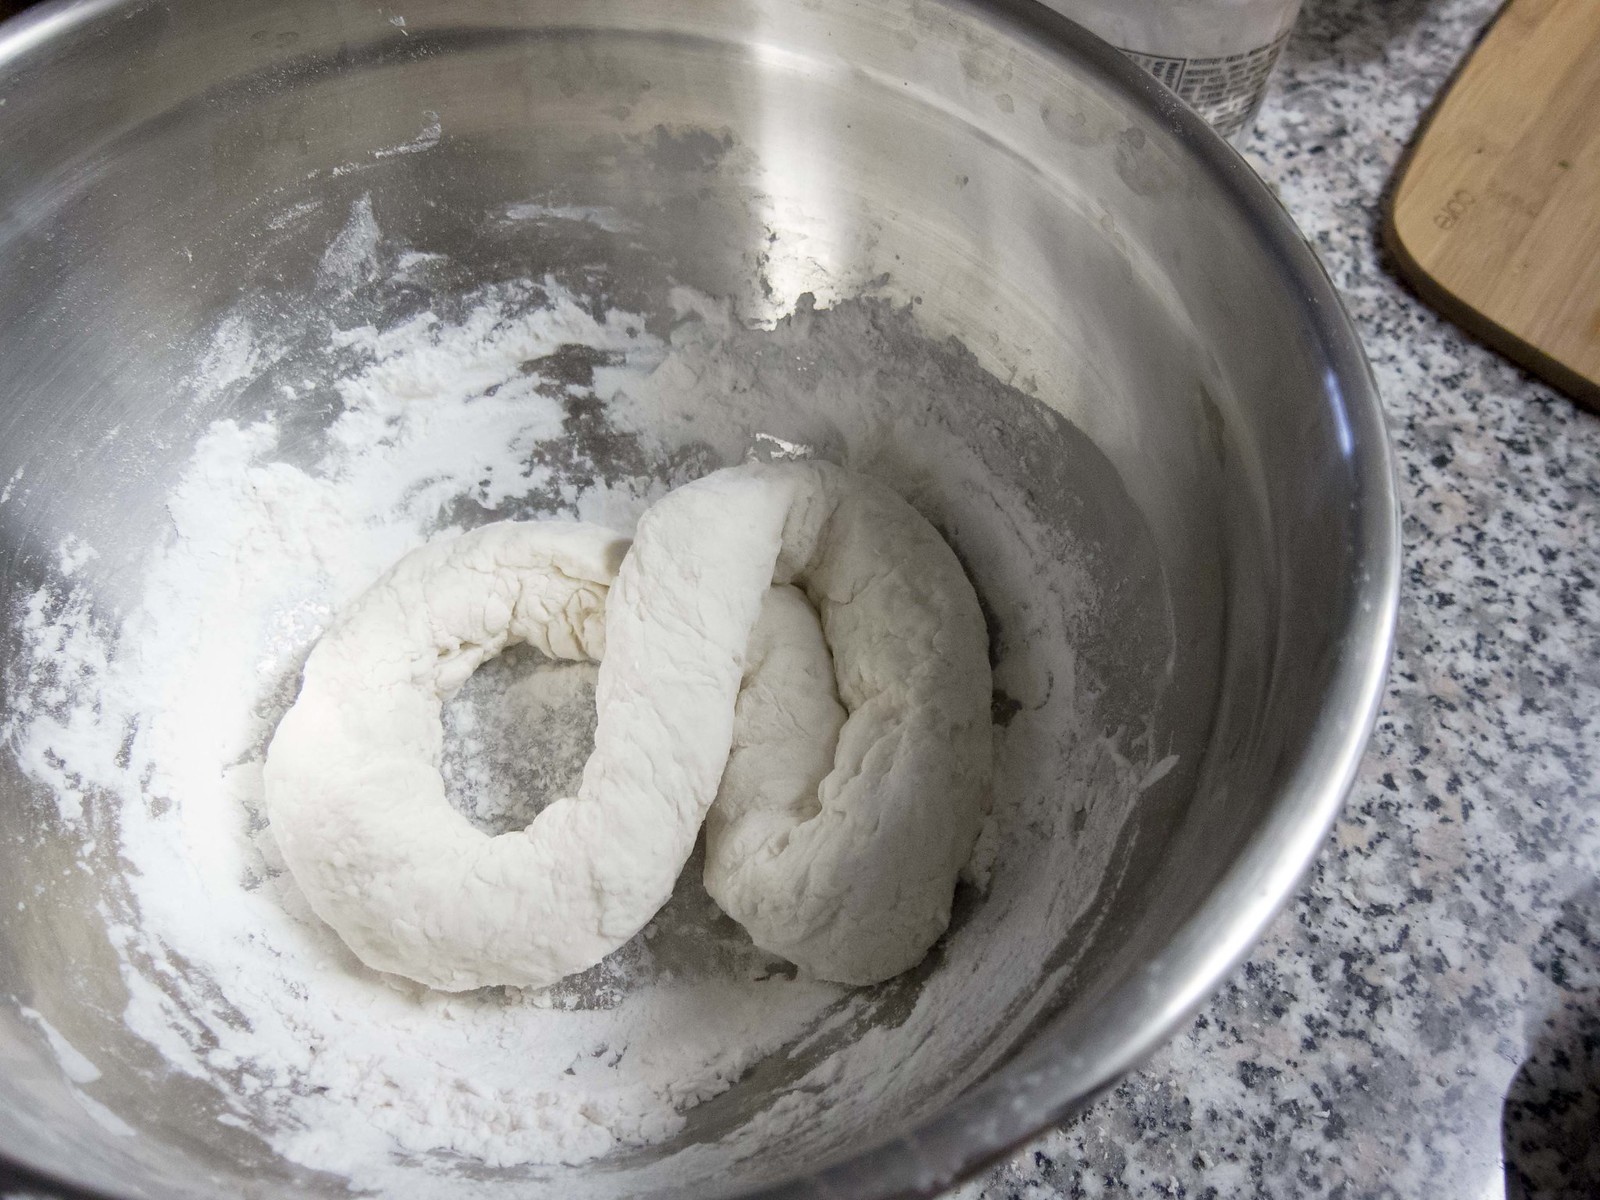
Ring of dough, ready to be cut

Cutting the dough into discs

From dough disc, to wrapper, to dumpling
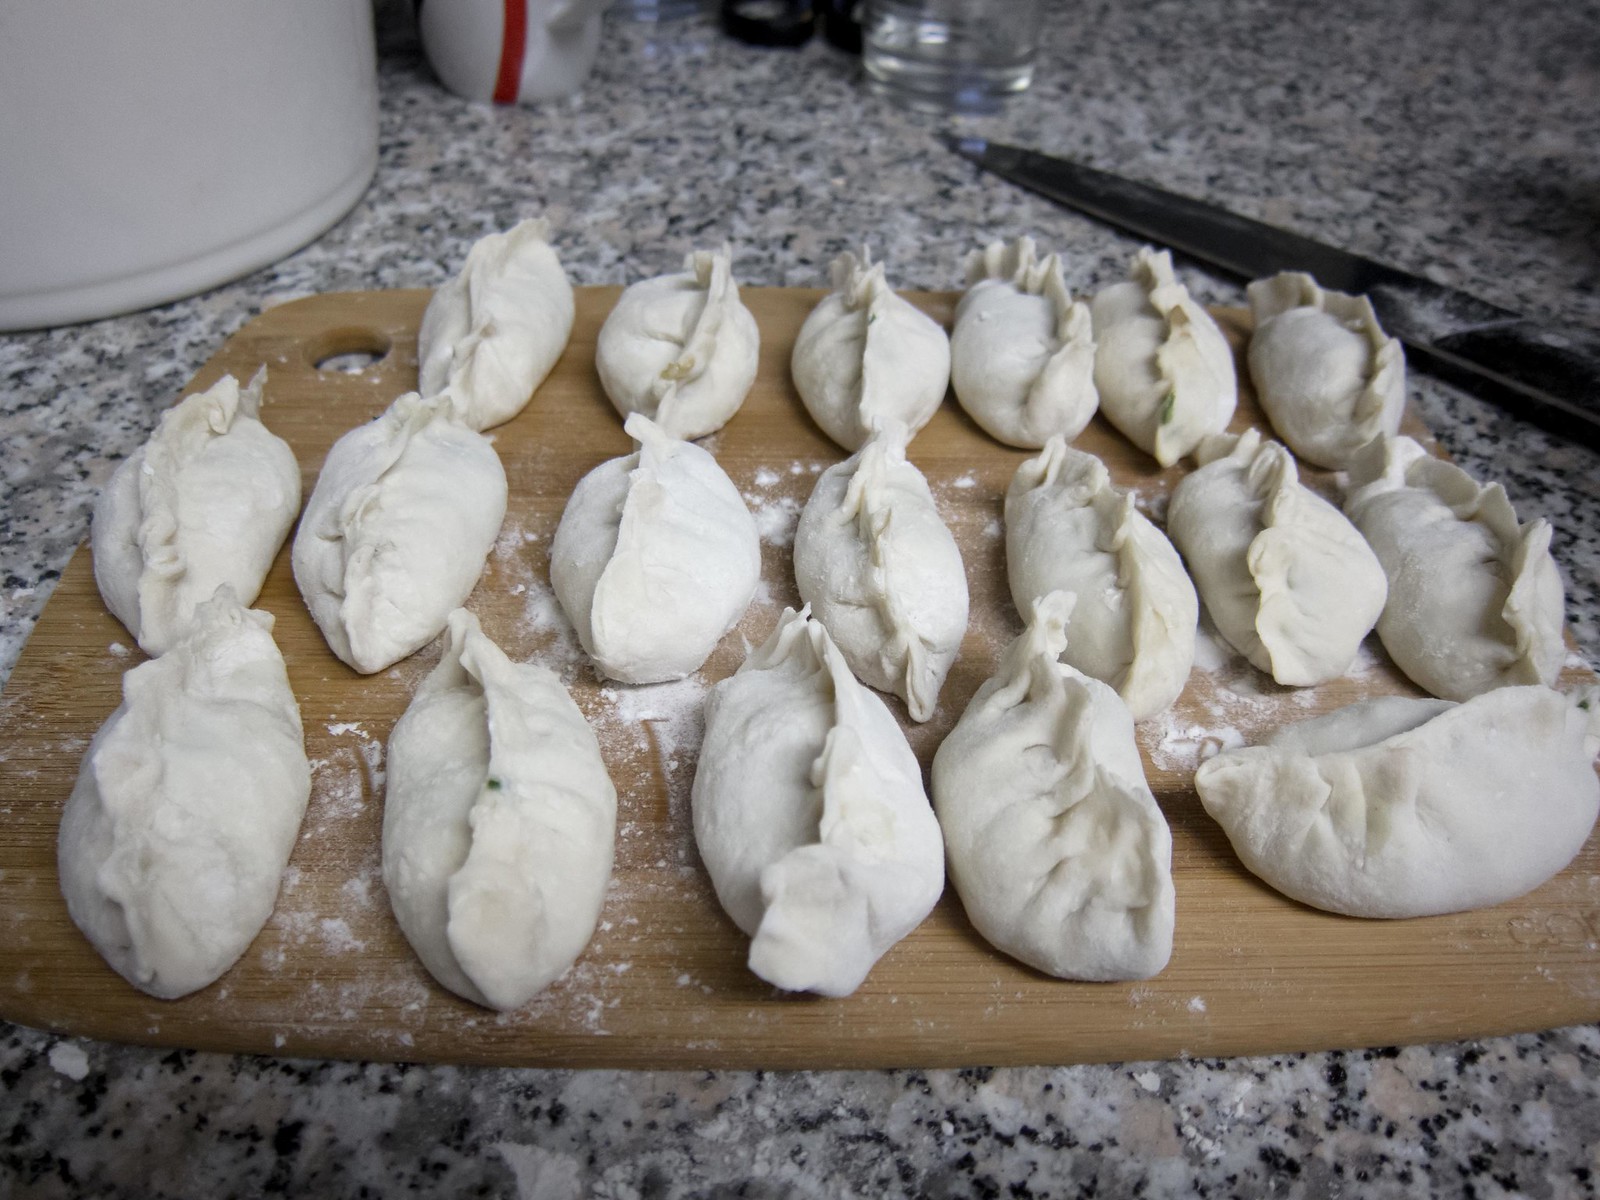
As they’re being wrapped, keep the dumplings well floured and seperate to prevent them from sticking
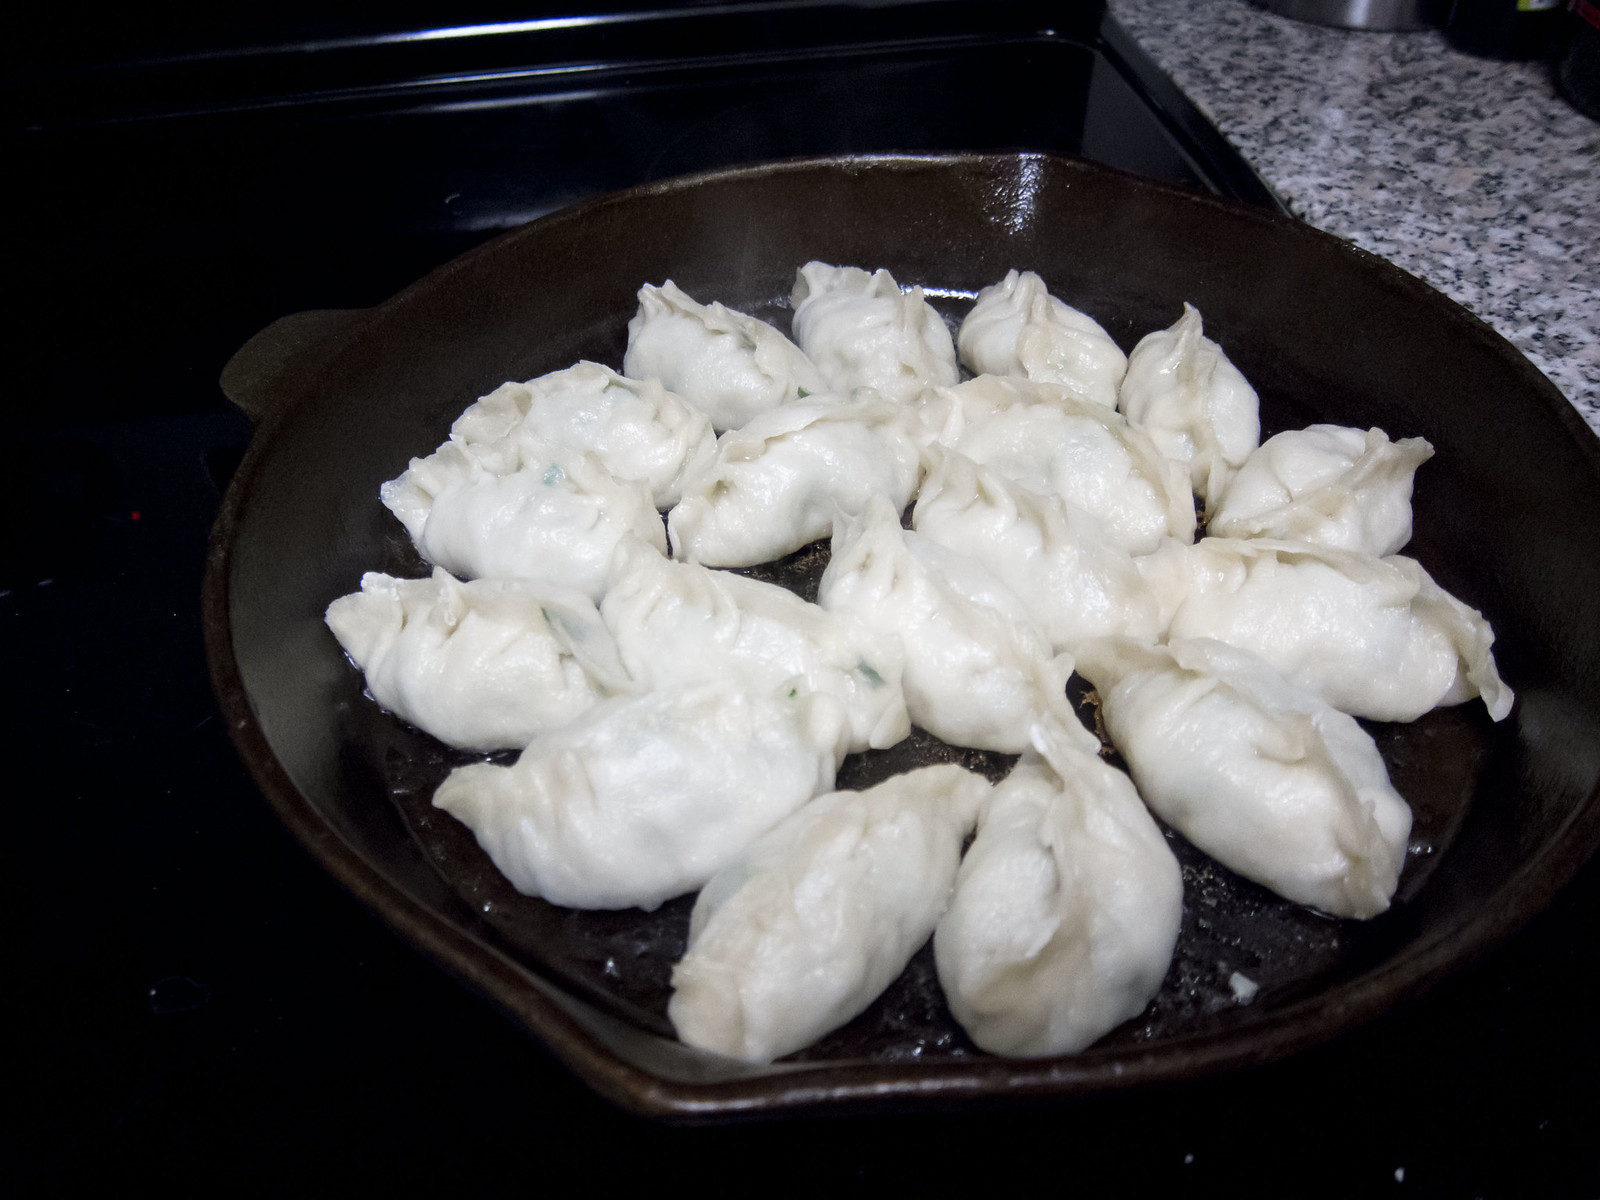
Fry the dumplings
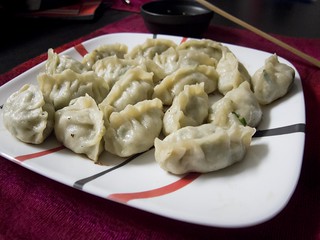
These look amazing!
Thank you!